But progress gradually slowed down as various difficulties presented themselves and work constraints and other distractions reduced the time I was able to spend on Oakstrap.
I had intended to blog my progress regularly, but my camera became unreliable and then failed completely: this provided the excuse I needed for the lack of blog updates.
To get things going again I am using my nice new camera (thank you Elizabeth) to record the current state of the project.
I have worked mainly from the images that Triffid_hunter kindly made available (1 2 3 or all at Picasa ).
I found it hard to find dimensions for the objects - I had to assume that the divisions on the frame were supposed to be 1 centimeter apart, and then to chose the scale in the print dialog to give the right result. It seems that the Mac print dialog does not allow fractional percent scales, so the result was just slightly inaccurate.
 |
| Frame vertex template from Triffid hunter |
For simple parts, such as the frame vertex shown here, the technique is to glue the paper template onto the wood and then cut and drill to match the template. It is important that the direction of the grain of the wood gives strength where it is needed; usually the grain should be in the long direction of the piece.
 |
| Assembled vertex, showing good grain direction |
I tended to work quickly from the plan, without spending much time to see how the parts were going to be assembled. As a result, many of the holes I drilled were just a few tenths of a millimetre too tight, and distances that should have matched exactly did not. I also spent too much time copying non-functional details of the parts, like the large chamfers on the frame vertexes, that cost nothing when the part is printed but add time and complexity to my work. But I do occasionally feel a certain pride in the results.
 |
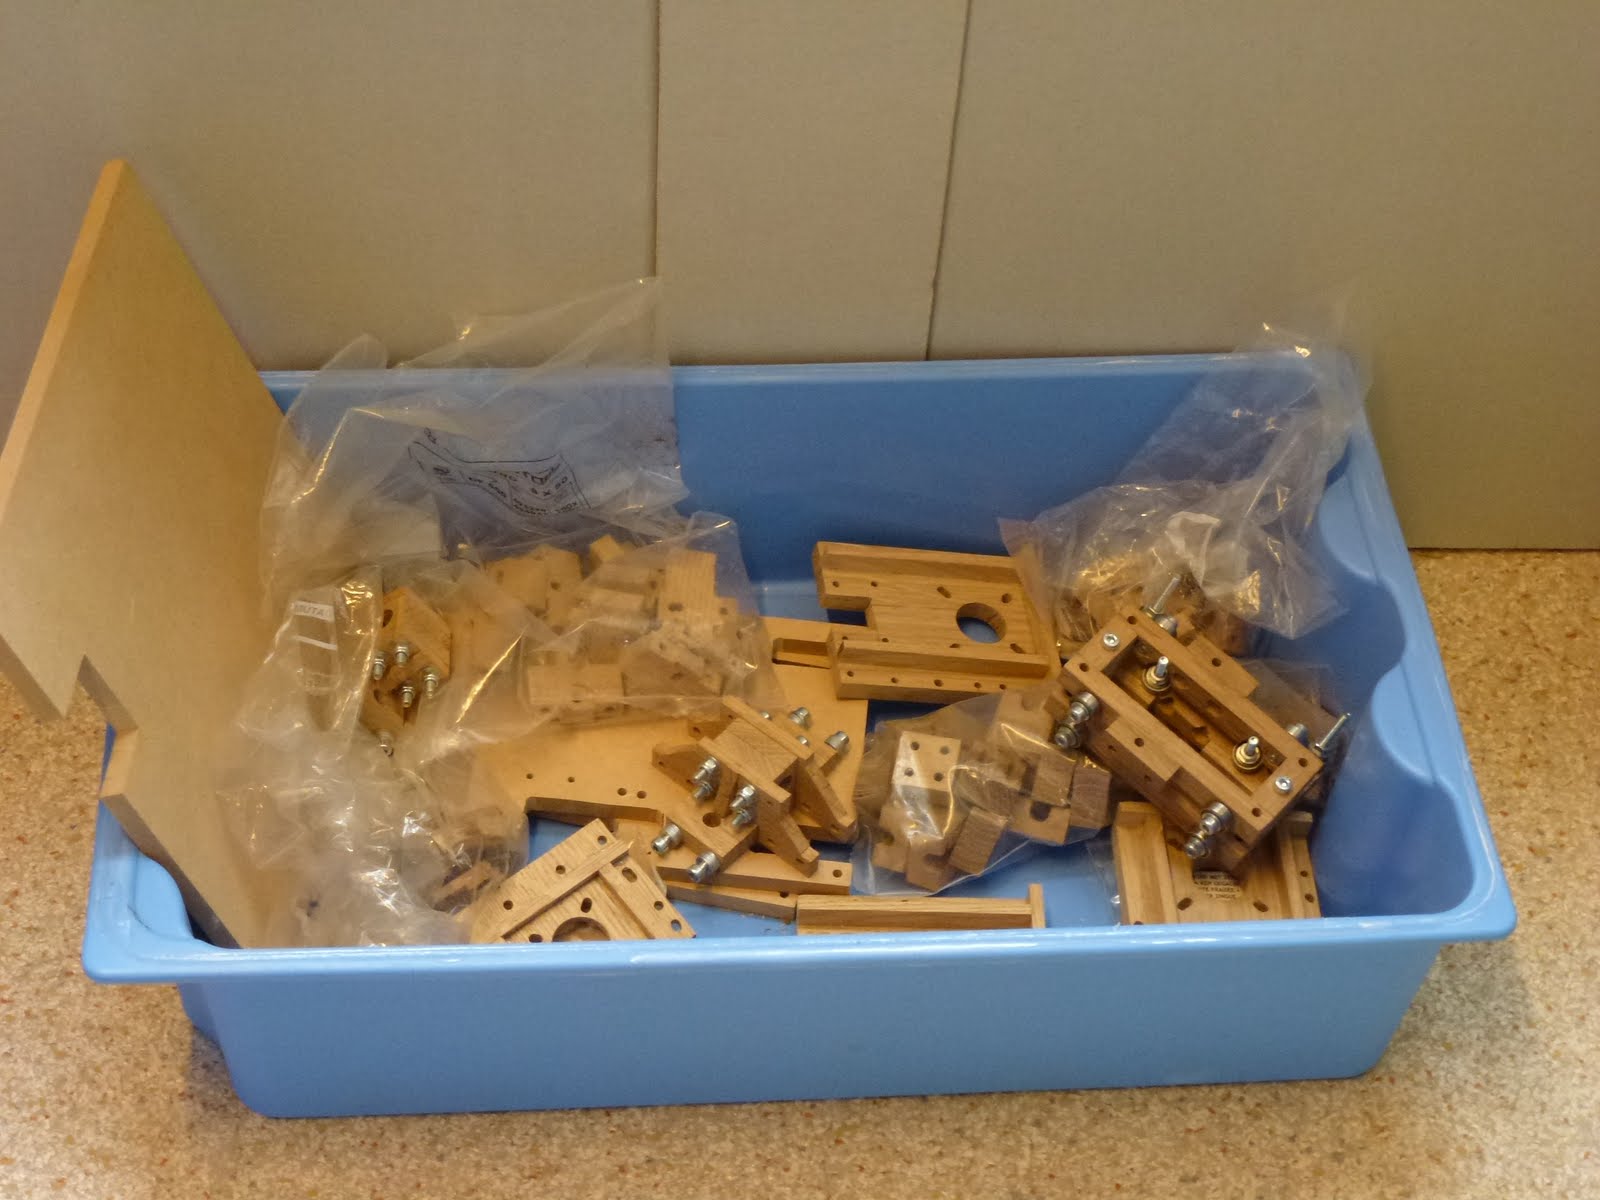
| Motivational list of parts |
Although not all the details are accurate, it was good too have an overview of the work ahead of me and to be able to choose a part to work on that matched my mood and the time available. I tended to use batch production techniques, setting up tools and guides once and then making a series of identical parts. Often I made twice as many as necessary, so that I could select the best for use.
After few weeks I had all but the hardest parts done, and was able to assemble the frame.

 |

No comments:
Post a Comment